My next class towards certification for level 1 in the Altenew Educator Programme is Easy Ink Blending Techniques. The classes show different techniques on how to use ink to create different types of backgrounds using inking techniques such as embossing resists, faux water-colouring, and blending among others.
When I first started blending with my inks, I found I had a very heavy hand and got lots of lines and marks that were difficult to blend away. I started using a round ink blending tool similar to this picture:
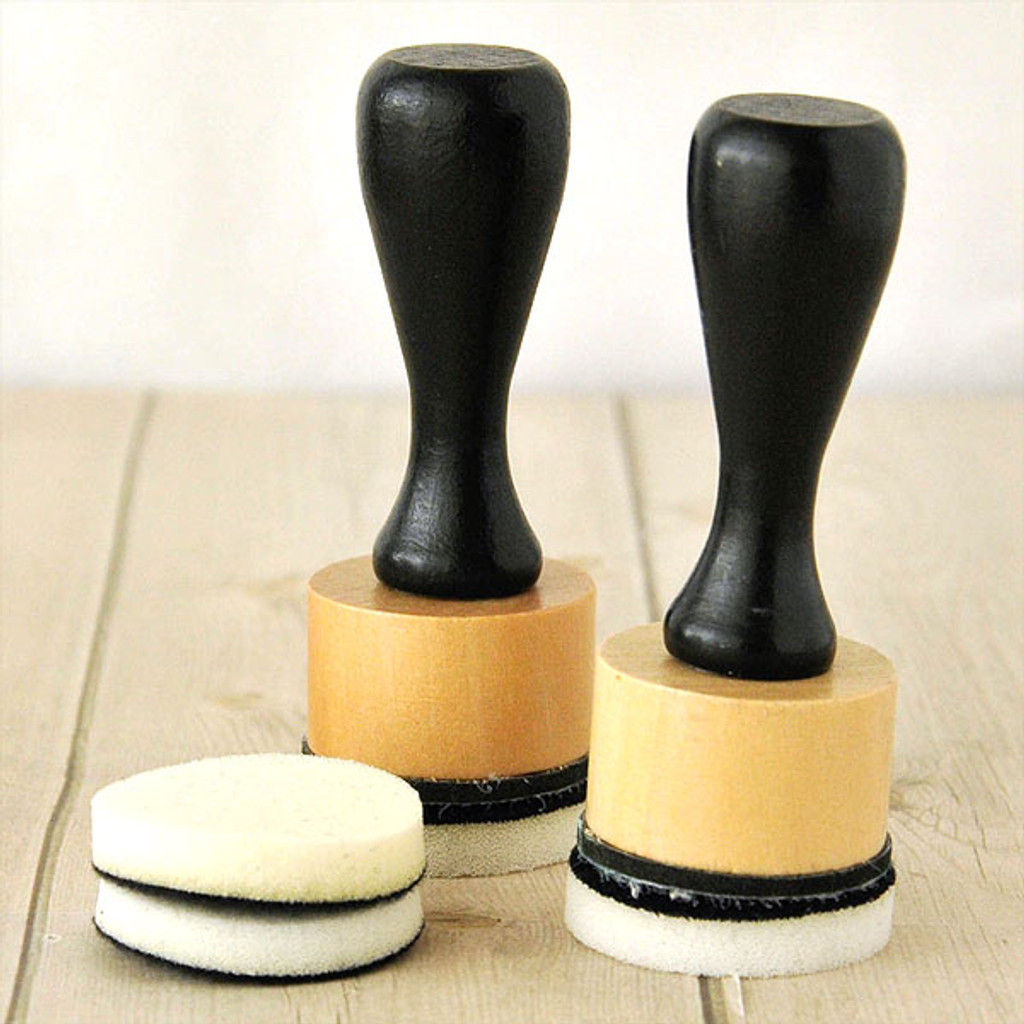
These blending sponges on the ends of the tool become saturated with the ink and that allows a smooth blend. There are also other tools such as makeup blending brushes you can get for a few bucks that give a slightly lighter colour. Here is an example of the brush-type:

I find that these brushes give a lighter blend, but I still usually use by blending tools as they give a deeper colour.
Distress inks react with water to create different effects and stay wet for a while so you can get a really good blend. Therefore, for my cards for this technique, I used my Distress Inks. I decided to create a rainbow effect blending red, yellow and blue to create a rainbow on my card.
I used my lovely Scallop Builder Stencil to create the images. I used masking tape to stick the back of my paper to the stencil so it didn’t shift. I started by applying the red (Candied Apple) to the corner, and then used the yellow (Mustard Seed) to create both the yellow part and the orange over the red. Then I used the blue (Salty Ocean) to create the green and blue part, and then I added the purple (Wilted Violet) to make the final mix – the indigo and purple part.
Here you can see the transitions between the colour:
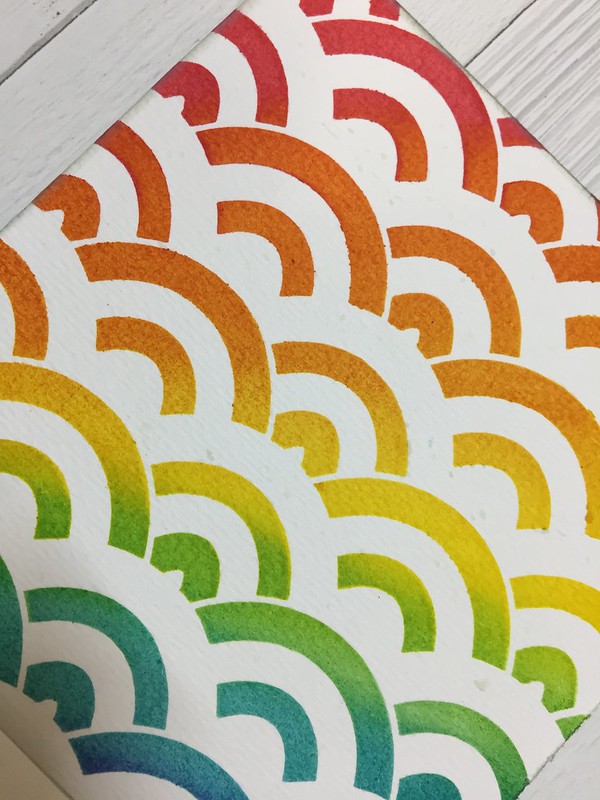

You can see the lovely colours you can achieve from blending. This is my all-time favourite technique to create blends using two colours, and the rainbow shows it off very well.
For the sentiment, I used the “just because” from the Fancy Greetings Stampset. I cut the edges at an angle to add some interest, and I popped it up on from double-sided tape to give it a little dimension.
I had such fun blending different combinations on my cards, and here is my final card for this lesson:
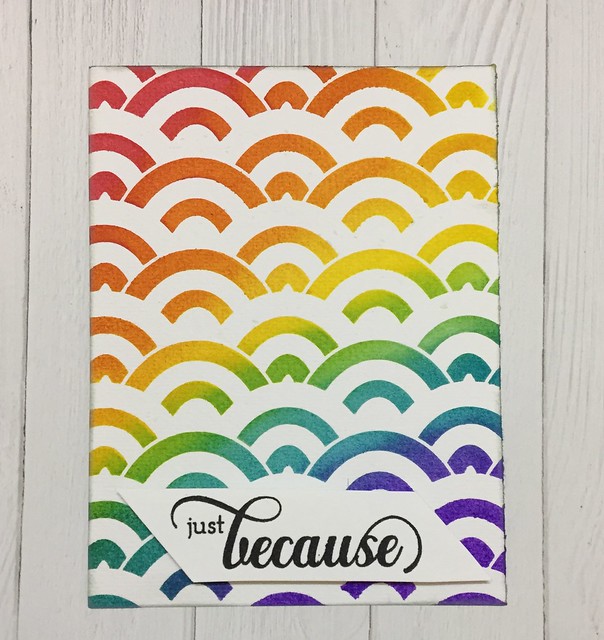
You can see how beautifully the colours blend – using only 4 to create a stunning blended range of 7. I really enjoyed making this rainbow and love the final effect.
Thank you for visiting my page today and taking a look at what I have made. Have an excellent week, and look for rainbows in everyday things. 🙂
This looks flawless! Such an amazing blended background.
Thank you for entering your work to the AECP assignment gallery.
Thank you so much 🙂
I love it! You’re so talented!
Thanks sweet cousin <3