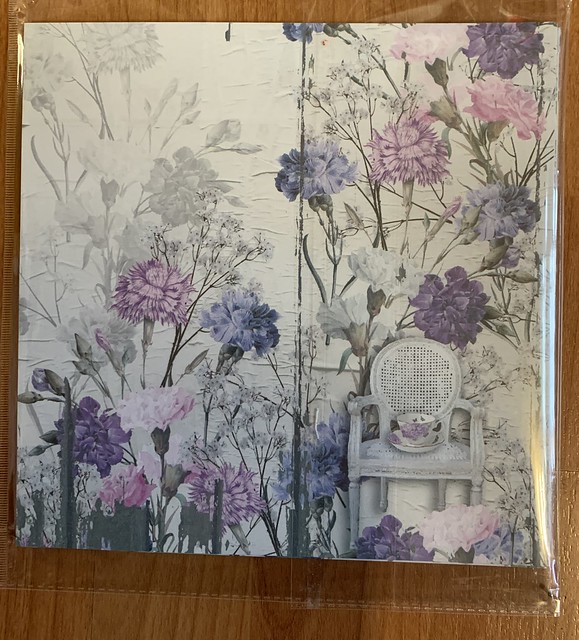
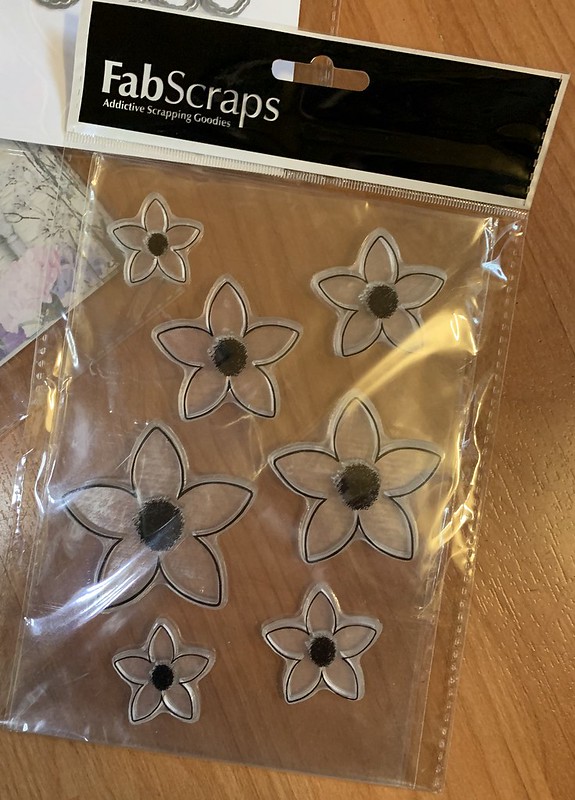
Today I attended a class at one of my fav places in all the world – The Purple Magnolia Craft Studio. Today, (as always) our bags were filled with goodies including a pack of gorgeous paper with flowers in soft reds, purples, blues and pinks, a set of flower dies, a set of flower stamps, and some greenery bits and bobs – more than enough to create the two cards for today’s class.

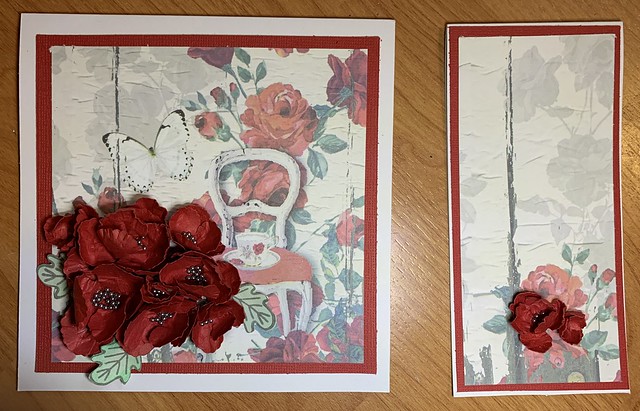
Today’s class was about learning how to create flowers from dies using a ball tool (or similar) or stamping and fussy cutting them out (where you have a stamp with no matching die). The poppy die set makes the most beautiful frilly-edged flowers. We used some grey prills as the centres, and cupped them to shape after praying them slightly with water to break the tension and soften the starch in the paper.
Once the flowers were glued and dried, we popped them onto the card base next to the paper’s focal point. We all chose different pictures, but of course, matched the red flowers to a red background.
As a bonus technique, Marie explained that if we use the excess cut piece from the A4 cardstock we used to make the main card, we could then also make a matching tag using all our stuff that is already out, and the flowers we have extra. This makes a few additional cards for small gifts that are then ready to use. I found this idea to be very helpful because all my stuff is out, the flowers are done, my hands are already full of glue and ink, and making an additional card from the leftover card feels clever and not wasteful. 🙂

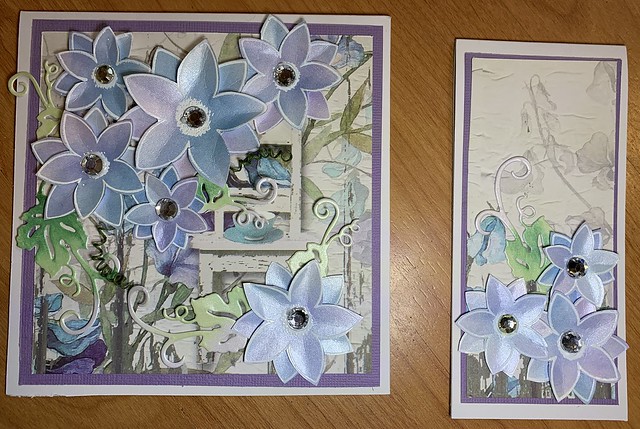
We then used the stamp set, versamark ink, and super fine detail white embossing powder to create the flowers we were going to colour. This stamp set is so easy to cut out you don’t even need a matching die.
We used soft blues and purples (to match the gorgeous paper) for these flowers. Since we stamped the flowers onto gorgeous shimmer card, the flowers have a lovely shine. We added some bling over the embossed centre of each flower to add a shiny focal point in the centre, pinched the petal ends and the flowers were done. We arranged the flowers on the card base, added the swirly leaves and the little twirls of florist wire, and then made the additional tag the same way.
Voila – 4 cards for the price of two, in the same amount of time.
Thanks for popping in. I hope you have all had a good week so far, and that you have had time to do s little something for yourselves. Stay warm. XxX